written by Megan Ann Harmon
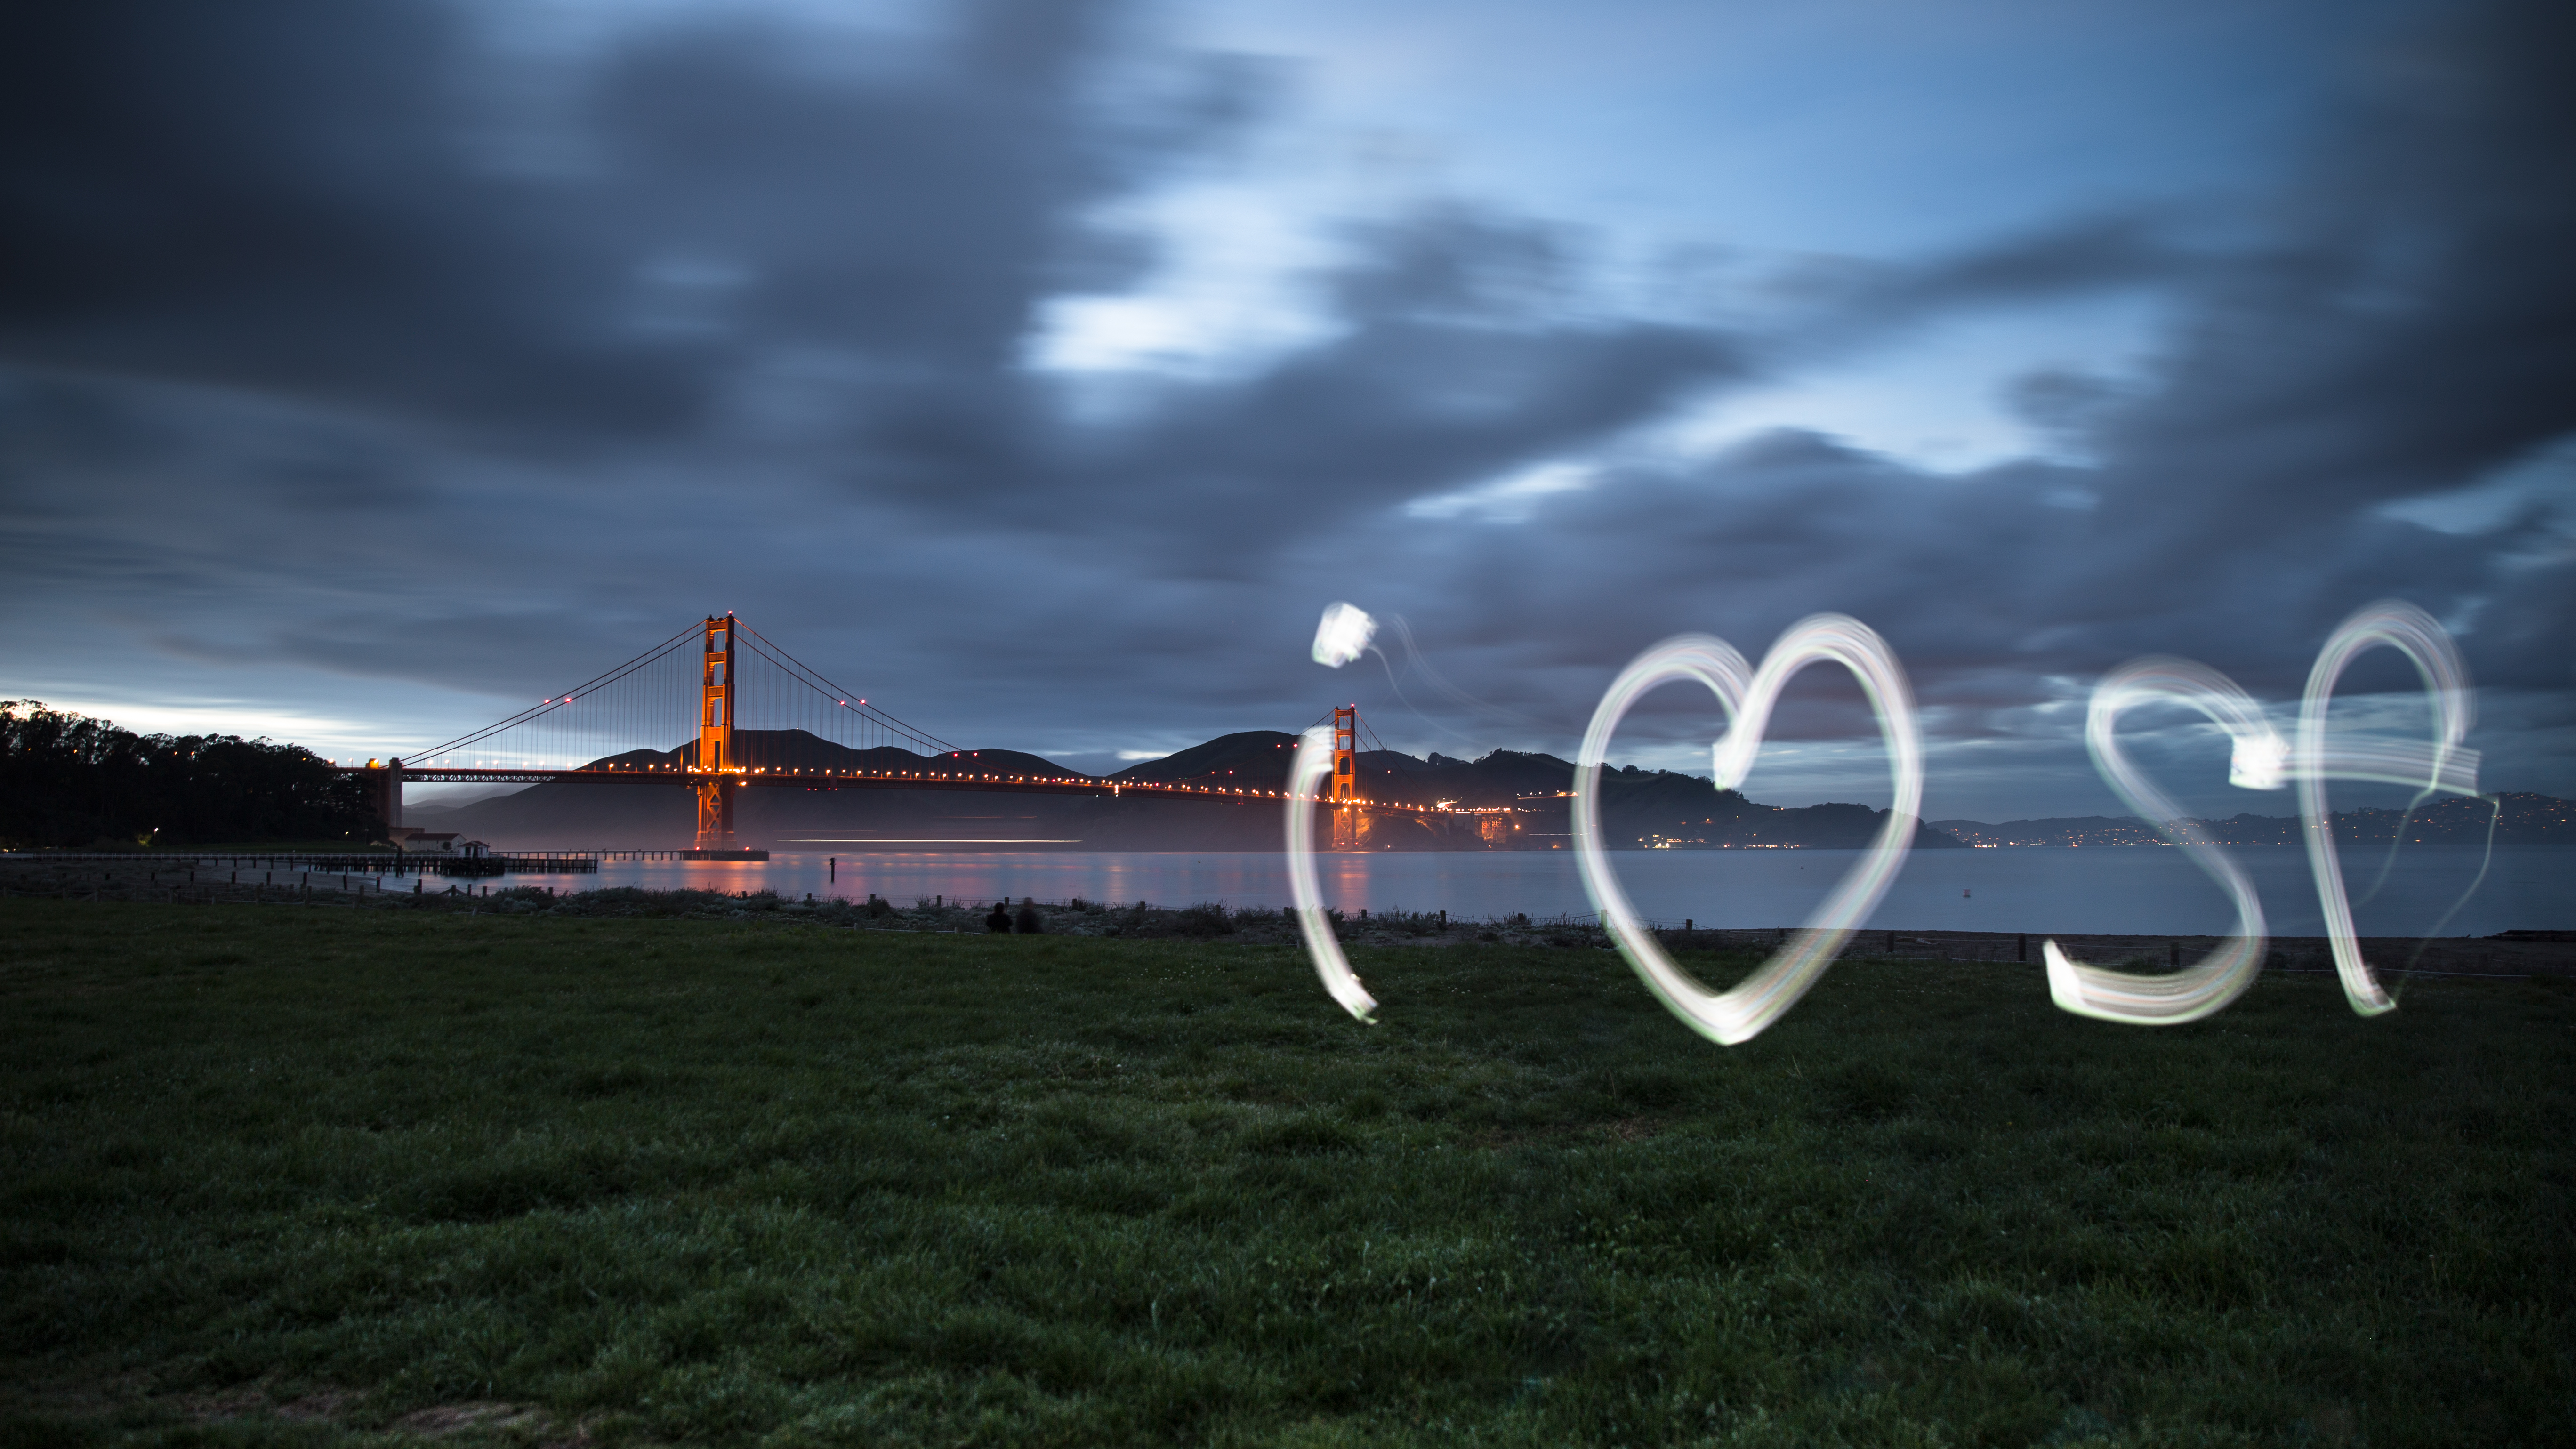
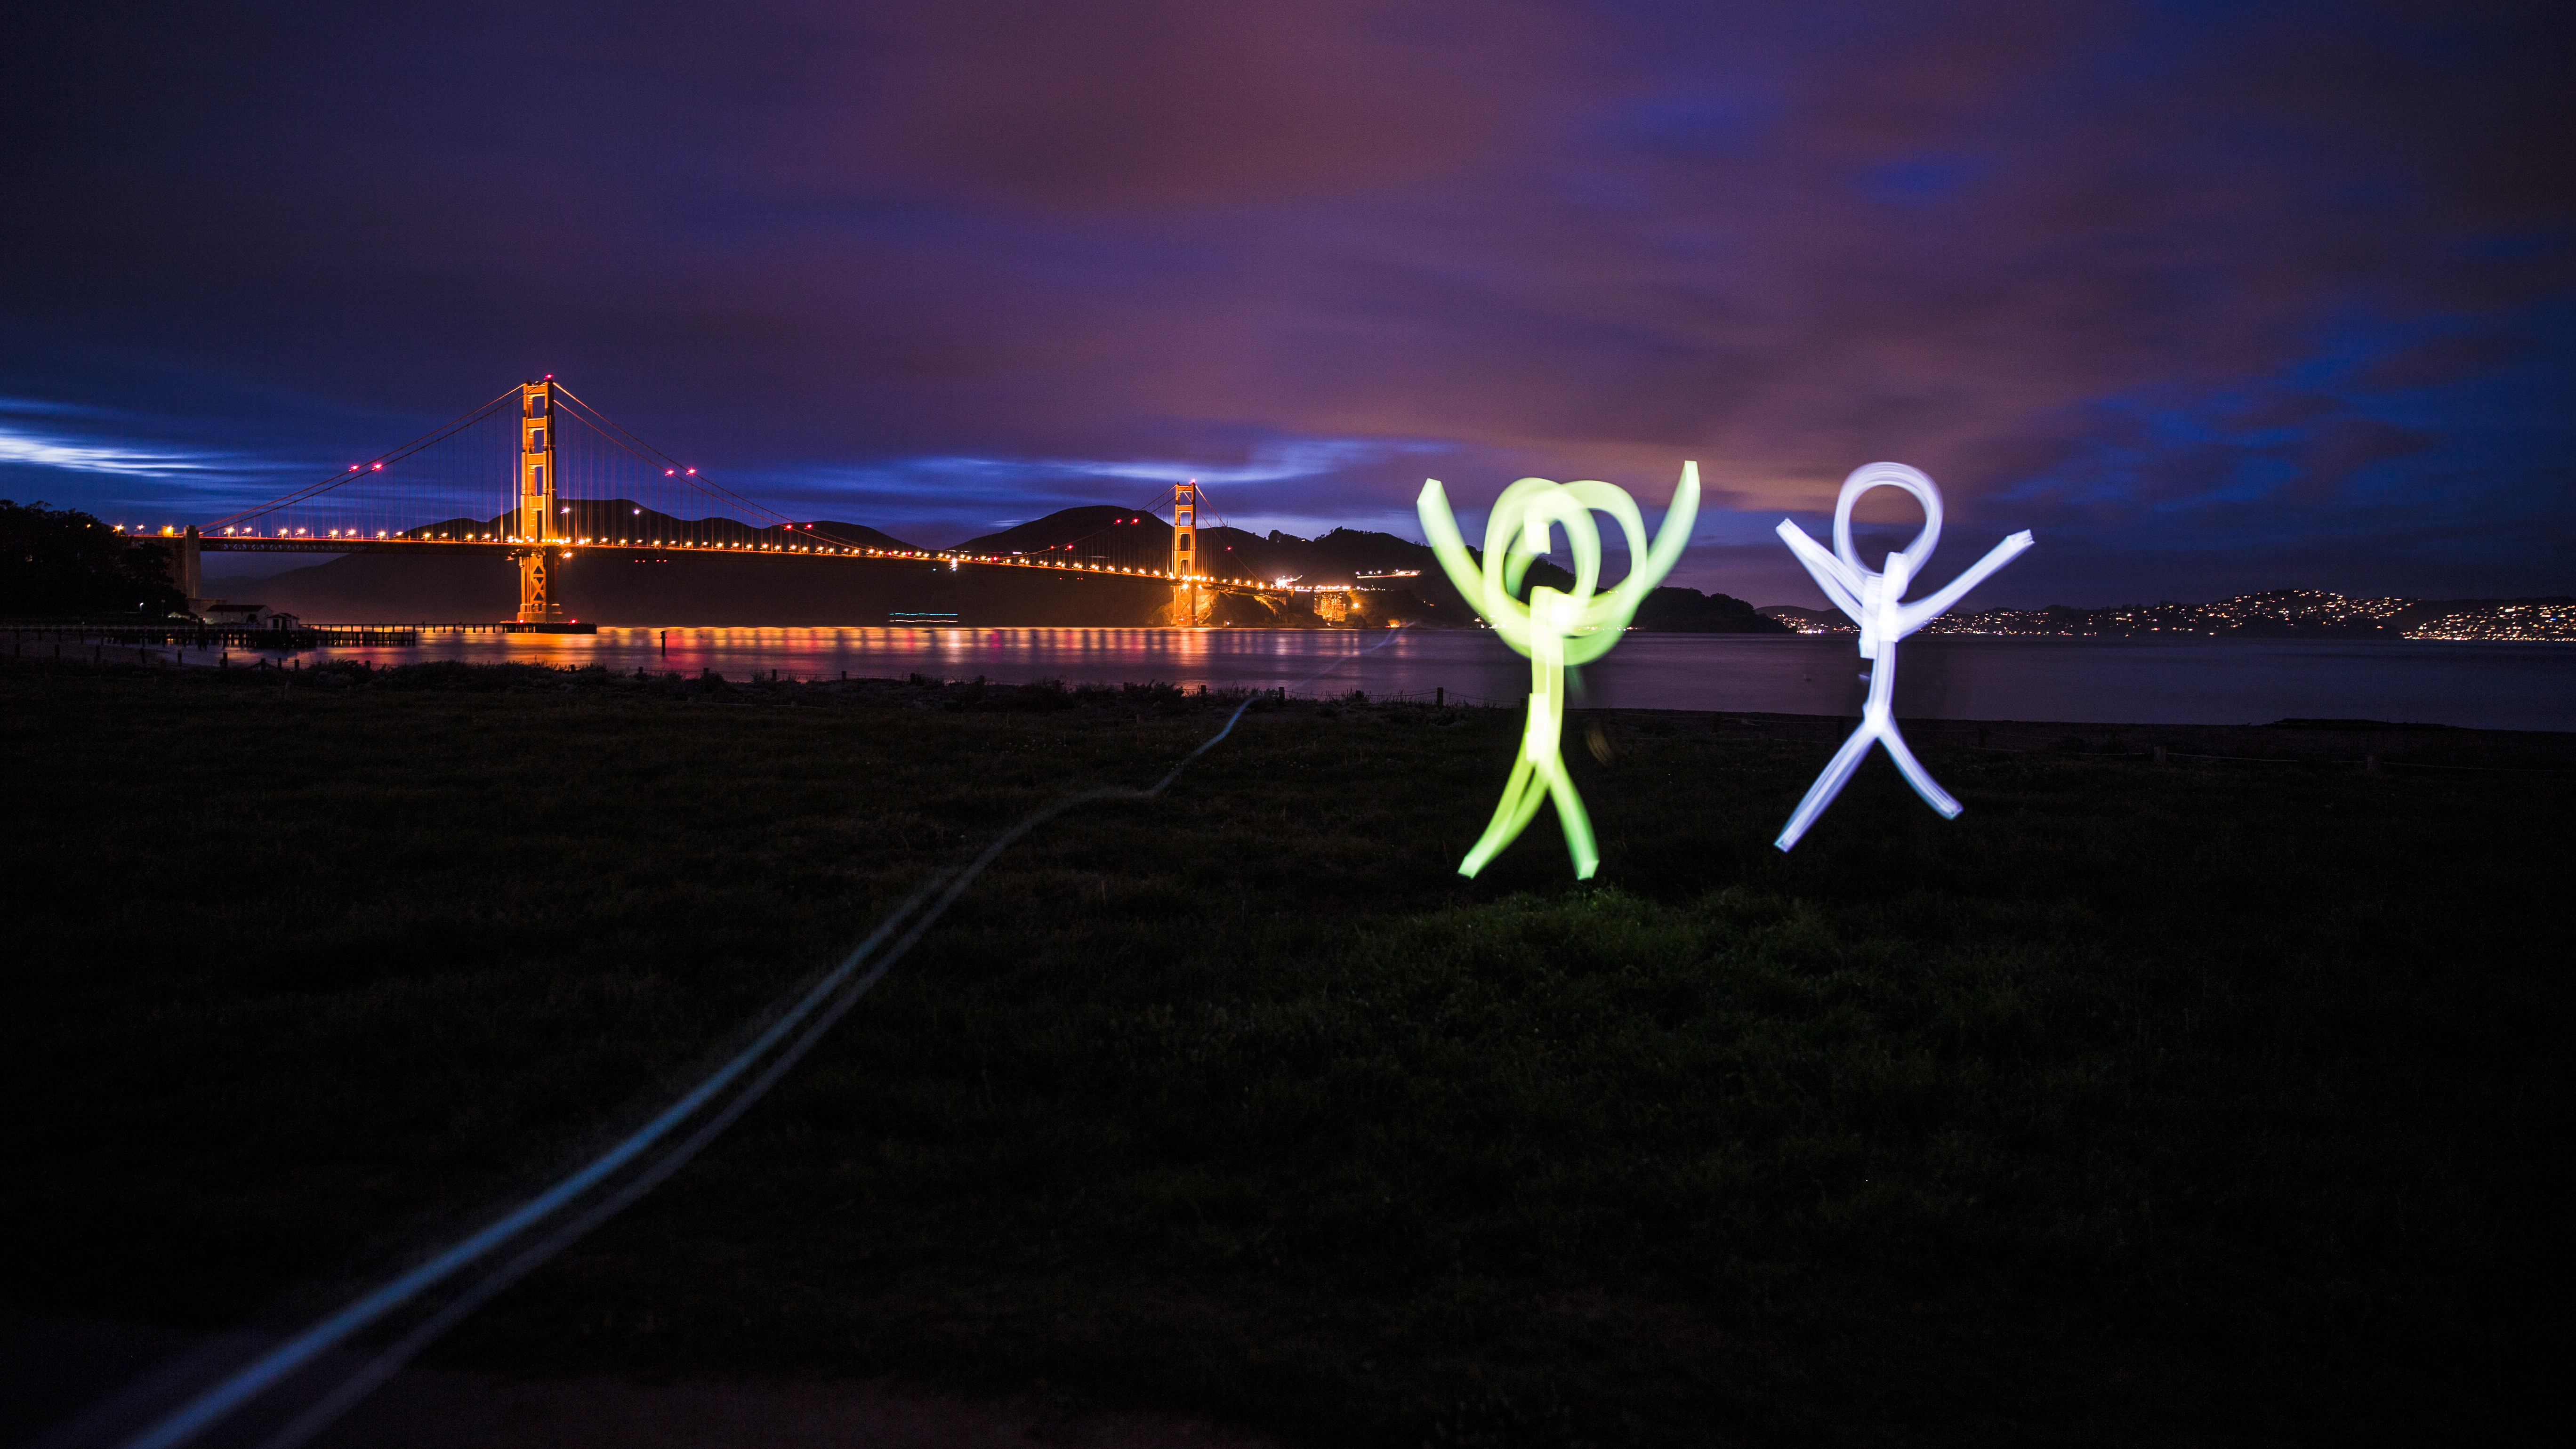
Oftentimes, photography requires spending time just sitting around, slightly adjusting your tripod or camera settings, in hopes of getting that perfect shot. Sure, sometimes you have to literally get up and move locations (looking at you, photo bombers), but once you get there, you’re there for a while. But who says you have to be? Combine night photography with a little light, and you get a lot of fun. That’s why Carter (your favorite community manager) and I have created this guide for creating a light painting just for you.
Let’s walk through it.
You’ll need:
1. Camera and tripod
2. A smartphone (they’re so handy, aren’t they?), glow stick or super low-watt light
We already discussed aperture, shutter speed and ISO in-depth in our previous night photography guide, so let’s just talk basics:
Aperture: f/4.0–f/11
Shutter Speed: 15–30 seconds
ISO: 1000–4000
Play around with all three settings and see what you like best! We also had a neutral density filter at 0.9.
Get your camera and tripod all set. Choose the settings you want to start with. Decide what you want to write. Click to take the picture and then… run, basically. Run out covering your light and then when you’re at the point in the picture where you want to start writing in air, do it! Or, if you have a partner in crime, have them on the ready and tell them when to go.
Pro tip: just make sure to cover the phone/light whenever you are ending a word and starting a new one so that it doesn’t all run together.
And then play some more. Change locations. Go further out. Come closer up. Create designs. Or just dance. You can also play with lighting a person from the ground up and giving them a glow.
Honestly, with light painting, the world is your canvas. Play and create.


No comments:
Post a Comment